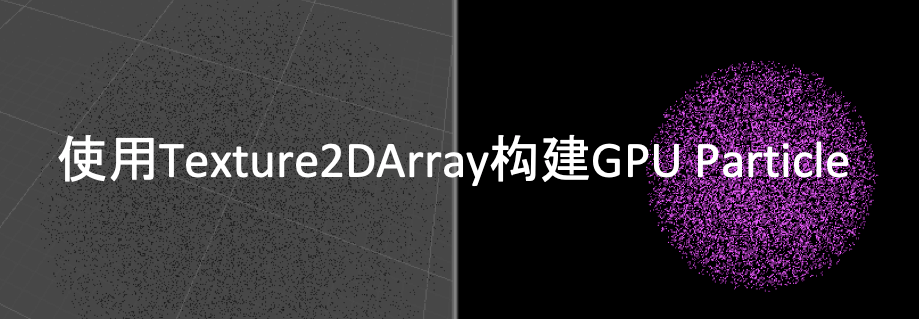
使用Texture2DArray构建GPU Particle
- 作者:admin
- /
- 时间:2019年03月28日
- /
- 浏览:6441 次
- /
- 分类:博物纳新
一、前言
现代图形API支持“纹理数组”,它是具有相同大小和格式纹理的数组。它们被着色器视为单个资源,对它们进行采样需要一个额外的坐标,指示要从中采样的数组元素。
通常,纹理数组可用作纹理图集的替代,或者在对象使用一组相同大小纹理的其他情况,例如:同样几何形状的不同角色,各自有不同的贴图,或者该物体有多个不同属性的纹理贴图例如漫反射颜色、法线贴图、高光密度贴图等。
在上述情况下,我们需要使用多个纹理的时候,需要在绘制命令之前将所有的所需纹理绑定完毕。当我们还需要更新纹理对象本身时,每一次材质切换(类似glBindTexture)都会对性能产生一些影响。纹理数组可以将这些尺寸格式相同的纹理合并到一个集合,直接减少材质切换的次数,甚至可以降低DrawCall的数量,从而提高性能。Unity纹理数组就提供了这样的功能。
而对于具有不同贴图的粒子系统,就可以使用Texture2DArray来实现。今天介绍的这个开源库项目就提供了一个解决方案。
开源库链接:https://lab.uwa4d.com/lab/5b66392bd7f10a201ffa7e14
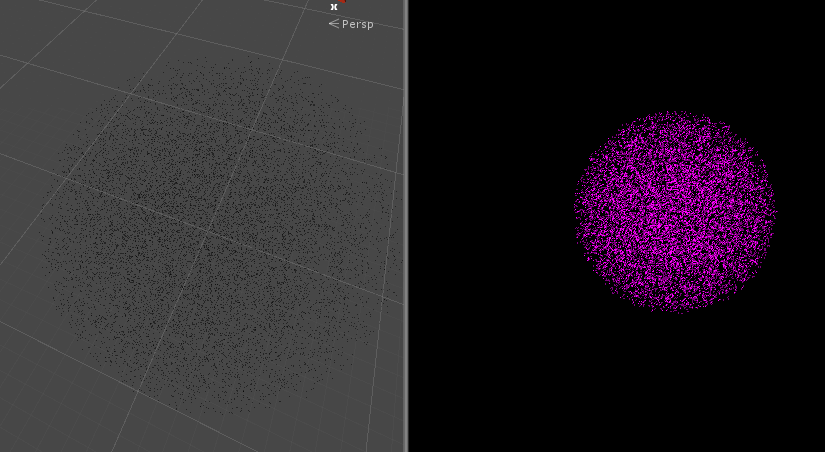
二、效果展示


三、使用方式、代码分析与简单原理
该项目提供了一些Demo以供学习。
1、载入相应的贴图,要求格式尺寸相同。并赋予TextureArray中的Textures数组。
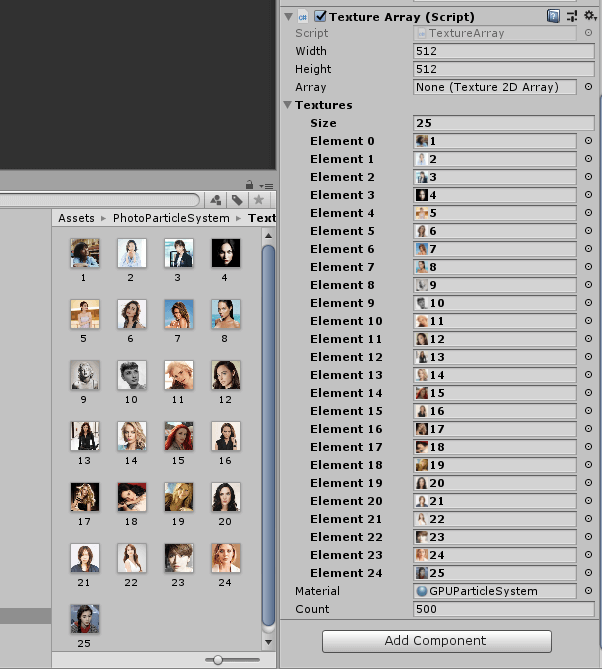
TextureArray类用于新建Texture2DArray并读入像素数据。目前在Unity纹理数组中没有导入管道,必须在运行时或编辑器脚本中从代码创建。使用Graphics.CopyTexture对于将像素数据从常规2D纹理快速复制到纹理数组。将该纹理数组传递给GPUParticleSystem材质(Butterfly着色器)。
void Start () {
//构造Texture2DArray
  array = new Texture2DArray(width, height, count, TextureFormat.RGB24, false);
  array.Apply();
  material.SetTexture("_TextureArray", array);
  material.SetFloat("_Depth", count);
  Load(textures);
}

void Load (List<Texture2D> textures) {
  var candidates = textures.FindAll(tex => tex.format == TextureFormat.RGB24).ToList();
  int cn = candidates.Count;
  for(int i = 0; i < count; i++) {
    //读取图片像素信息
    Graphics.CopyTexture(textures[i % cn], 0, 0, array, current, 0);
    current = (current + 1) % count;
  }
  array.Apply();
  material.SetTexture("_TextureArray", array);
}
2、FboPingpong类继承System.IDisposable,便于实现资源释放,该类包含两张RenderTexture,用于实现双缓冲绘制。
GPUParticleProp类继承System.IDisposable,该类包含一个关键词和一个FboPingpong类,根据关键词向对应材质、着色器传递FboPingpong中的RT。
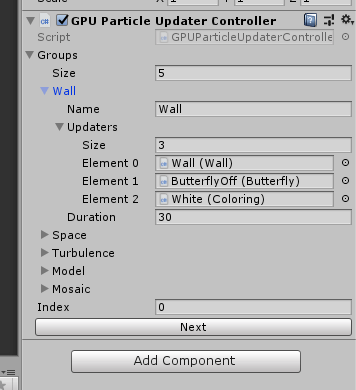
3、GPUParticleUpdaterController脚本用于控制效果切换,当演示效果时长达到规定时长或者按下”N“键,停止当前协程,新建协程调用Step(),激活下一个效果的GPUParticleUpdaterGroup中每一个GPUParticleUpdater。
IEnumerator Repeater () {
  yield return 0;
  while(true) {
    Step ();
    yield return new WaitForSeconds(current.Duration);
  }
}

void Step () {
  if(current != null) current.Deactivate();
  current = groups[index % groups.Count];
  current.Activate();
  index++;
}
4、GPUParticleUpdaterGroup中包含多个GPUParticleUpdater用于实现对应效果,GPUParticleUpdater类及其子类,接收GPUParticleProp类中的FboPingpong类的RT,将实现效果渲染到RT上。
例如:ApplyRotation子类接收RT。
public override void Render (GPUParticleSystem system) {
  var velocity = system.GetProp("_Velocity");
  var rotation = system.GetProp("_Rotation");
  if(velocity != null && rotation != null) {
    material.SetTexture(velocity.Key, velocity.FBO.ReadTex);
    material.SetTexture(rotation.Key, rotation.FBO.ReadTex);
    Blit(rotation.FBO, material);
    }
}
渲染RT:
protected void Blit (FboPingpong fbo, Material mat, int pass = -1) {
  Graphics.Blit(null, fbo.WriteTex, mat, pass);
  fbo.Swap();
}
5、将上述得到的RT传递给GPUParticleSystem中的材质GPUParticleSystem材质(Butterfly着色器)。
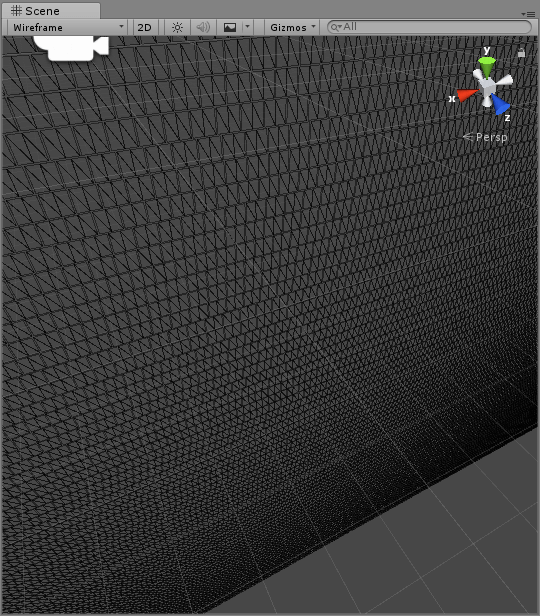
GPUParticleSystem会在项目启动时生成一个全部是点的Mesh。
相关代码:
Mesh Build (int count = 10000) {
  var mesh = new Mesh();
  int dcount = count * count;
  var vertices = new Vector3[dcount];
  var uv = new Vector2[dcount];
  var indices = new int[dcount];
  for(int i = 0; i < dcount; i++) {
    int k = i;
    float tx = (1f * (k % count)) / count;
    float ty = (1f * (k / count)) / count;
    vertices[i] = Random.insideUnitSphere;
    uv[i] = new Vector2(tx, ty);
    indices[i] = i;
  }
  mesh.vertices = vertices;
  mesh.uv = uv;
  mesh.SetIndices(indices, MeshTopology.Points, 0);
  return mesh;
}
在Update的时候,通过Butterfly着色器,根据点的位置绘制面片(Geometry Shader),渲染得到一个网格Mesh,获得效果。
GPUParticleSystem中绘制Mesh相关代码:
void Update () {
  updaters.ForEach(updater => {
    if(updater != null && updater.isActiveAndEnabled) {
      updater.Render(this);
      }
   });
  props.ForEach(prop => {
    material.SetTexture(prop.Key, prop.FBO.ReadTex);
  });
  Graphics.DrawMesh(mesh, transform.localToWorldMatrix, material, 0);
}
Butterfly Shader中相关代码:
#pragma vertex vert
#pragma geometry geom
#pragma fragment frag
[maxvertexcount(8)]
void geom (point v2g IN[1], inout TriangleStream<g2f> triStream) {
  float halfS = 0.5f * _Size;
  float3 right = rotate_vector(float3(1, 0, 0), IN[0].rot) * halfS;
  float3 up = rotate_vector(float3(0, 1, 0), IN[0].rot) * halfS;
  float4 v[6];
  //绘制一个面片
  v[0] = float4(IN[0].pos + halfS * right - halfS * up, 1.0f);
  v[1] = float4(IN[0].pos + halfS * right + halfS * up, 1.0f);
  v[2] = float4(IN[0].pos                 - halfS * up, 1.0f);
  v[3] = float4(IN[0].pos                 + halfS * up, 1.0f);
  v[4] = float4(IN[0].pos - halfS * right - halfS * up, 1.0f);
  v[5] = float4(IN[0].pos - halfS * right + halfS * up, 1.0f);
想要拓展更多的效果可以构建GPUParticleUpdater的子类及对应材质和着色器,组成一个新的GPUParticleUpdaterGroup,并添加到GPUParticleUpdaterController类的groups中。
四、性能测试
由于所使用的着色器使用了Geometry Shader,故在安卓端受到很大的使用限制。但可以在Editor里的Frame Debug中查看DrawCall数量:
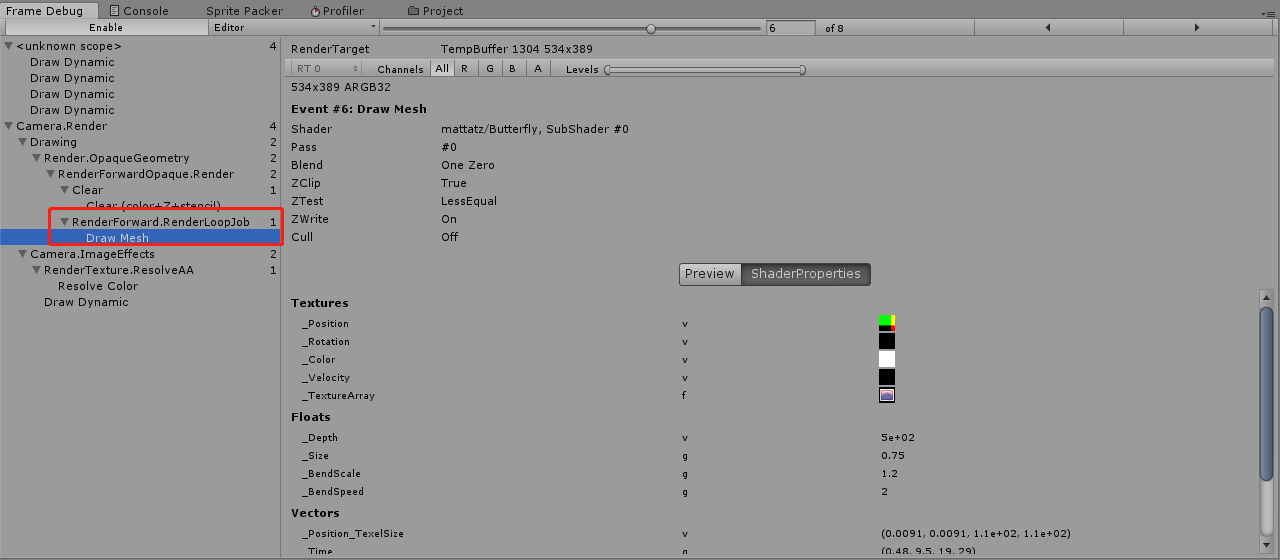
可以看出,借助Texture2DArray可以将DrawCall 降为1,这样可以大幅提升CPU端的渲染性能。
五、注意事项
当使用高版本的Unity打开项目,进行自动升级操作后:需要将Butterfly Shader第119行中的:
float4x4 vp = UnityObjectToClipPos(unity_WorldToObject);
改为:
float4x4 vp = UNITY_MATRIX_MVP;
今天的推荐就到这儿啦,或者它可直接使用,或者它需要您的润色,或者它启发了您的思路......
请不要吝啬您的点赞和转发,让我们知道我们在做对的事。当然如果您可以留言给出宝贵的意见,我们会越做越好。
【博物纳新】是UWA旨在为开发者推荐新颖、易用、有趣的开源项目,帮助大家在项目研发之余发现世界上的热门项目、前沿技术或者令人惊叹的视觉效果,并探索将其应用到自己项目的可行性。很多时候,我们并不知道自己想要什么,直到某一天我们遇到了它。
更多精彩内容请关注:lab.uwa4d.com